IceChat9 - Basic Setup on Cuff-Link
Published: By ClAdmin Category: IRC Tags: IceChat SASL support Technical Help Tutorial #helpContinuing on our basic setups for clients that support SASL, IceChat has updated their ircv3 options in version 9.13 which appears to have corrected previous SASL issues. Grab the latest version [9.14 as of writing] from their website. Note that version 7 does NOT support SASL.
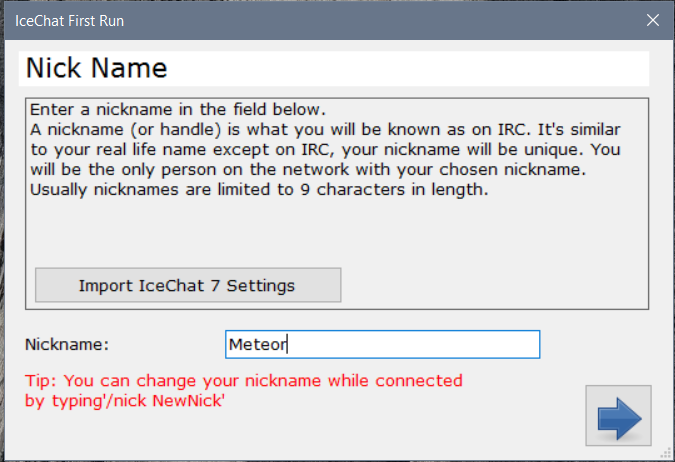
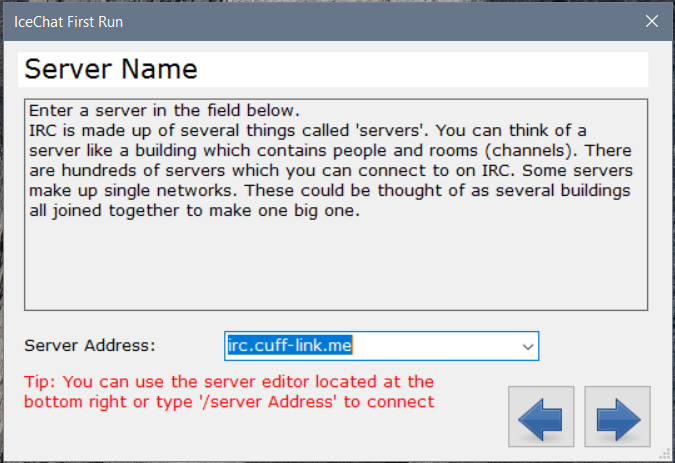
After install and starting the program for first run, we’re greeted with a couple dialogs to begin setup:
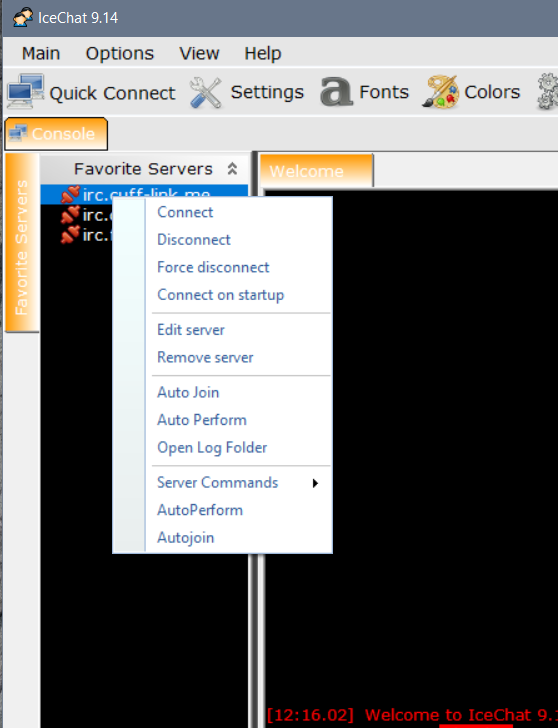
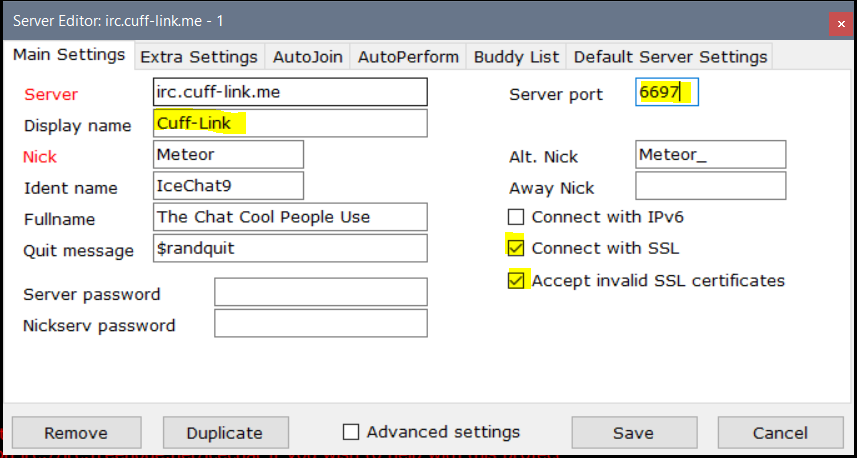
Here we’ll edit a few things. Notice that the two fields in red came over from the First Run boxes, so they are able to be updated if needed. Update ‘Display name’ to Cuff-Link since that is how it’ll appear under Favorite Servers. Then update ’Server port’ to 6697 and check both SSL boxes [our certs are self-signed at this time]. Note to not fill in the nickserv password here since we’ll be using SASL on the next screen.
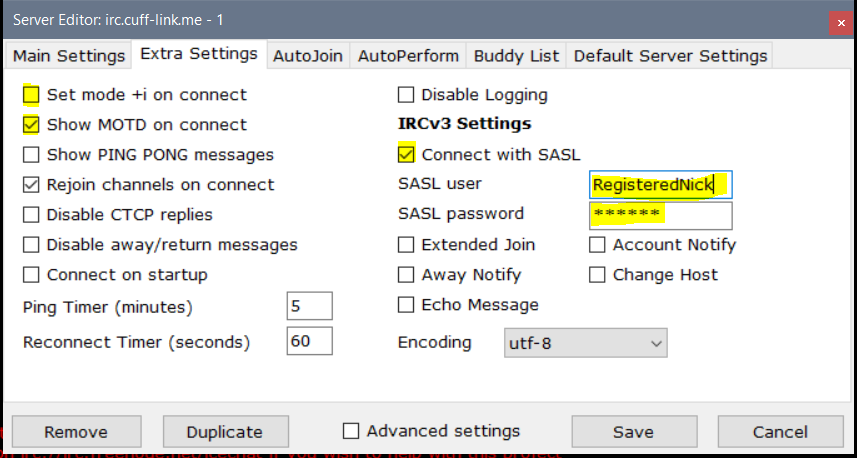
Next click over to the tab for ‘Extra Settings’ and there are a few things to do here. First, uncheck the box for ‘Set mode +i on connect’ because the server does this automatically so it will only give an error that the mode is locked. Next check ‘Connect with SASL’ under IRCv3 Settings, and ‘SASL user’ is your registered nick and ‘SASL password’ is your nickserv password. For the checkboxes below that, Extended Join, Account Notify, and Away Notify are supported by the server, however may be oddly handled by the client. Also, it is recommended to check the box for ‘Show MOTD on connect’ since there is useful information there.